Views: 55 Author: Site Editor Publish Time: 2022-06-20 Origin: Site
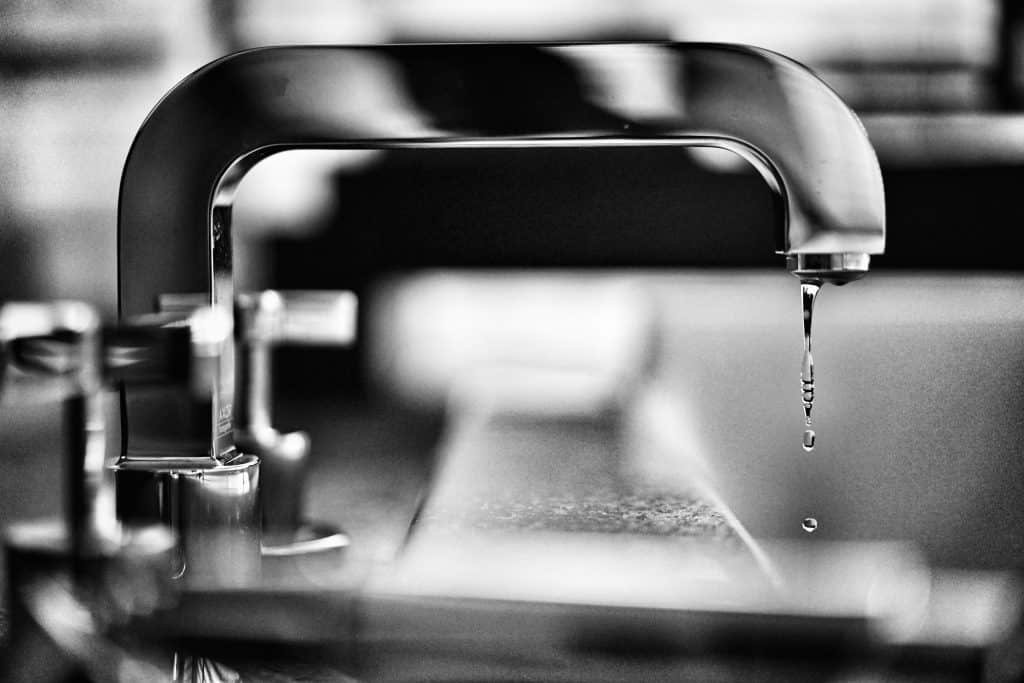
Is your kitchen faucet turned off, but the water is still running? While it’s not the end of the world, it is annoying. The good news is that it is easy and inexpensive to fix a leaky faucet. All you need to are some tools and replacement parts. This guide will show you how to fix a faucet that won’t turn off.
If the water still runs after shut off, it’s most likely because of a problem with the seal. This occurs from issues with the hardware inside the faucet. There 3 common reasons why a faucet will leak.
· A gasket or washer needs to be replaced.
· The seat is stripped or dirty.
· The cartridge is cracked or damaged.
Since you will be taking apart your faucet, you will need to identify the kind of faucet you have to find the right replacement parts. There are four types of faucets:
· Compression
· Cartridge
· Ball Type
· Ceramic Disk
Single and two handle faucets function similarly. Inside the handle is where you will find the problem. Compression faucets use rubber washers in the valve seat, while the other types of faucets use O-rings. The parts you need to pay attention to are the cartridge, the valve seat, washers, and gaskets.
![]()
You will need a few things before you get started. First, find the replacement parts for your faucet. If you don’t know the model number, you can determine what parts to get after disassembling it. Just take it to a plumbing supply store and have the parts matched. Below is a list of the things you need if the water is turned off, but the tap is still dripping.
· Replacement parts or a replacement kit
· Flathead and Phillips screwdrivers
· Allen wrench
· Plumbing wrench or a channel lock
· Pliers
· Rags
· Distilled white vinegar
· Plumber’s grease
· Utility knife
Begin by shutting off the cold and hot water valves under the sink. Then, place a rag in the sink to catch anything that falls. This also serves as a place for you to put your parts. Follow the steps below for your type of faucet.
Replace the washers and the O-rings.
1. Most of the time, you will need to replace the seat washers. Pry off the decorative cap that covers the bolt.
2. Use a screwdriver to loosen it. Pull up to remove the faucet handle.
3. Use two wrenches: one to loosen the packing nut and another to loosen the stem.
4. Remove the rubber washer from the bottom of the stem and replace it. Apply plumber’s grease before you install it.
5. Pull out the stem, and replace the O-ring. Apply plumber’s grease to the O-ring before install it.
6. Next, replace the washer. It is located inside the seat.
7. Reassemble the faucet and turn the water valves back on.
Replace the O-rings and the cartridge.
1. Remove the cap on top of the handle that covers the bolt.
2. Remove any clips or nuts holding the cartridge down, then pull up to remove it.
3. Apply plumber’s grease to the new O-rings. Pry off the old O-rings and replace them.
4. Next, pull out the cartridge, and replace it.
5. Reassemble the faucet and turn the water on.
Ball-type faucets have a lot of different parts. The best way to repair them is to replace all the parts at once. Repair kits will usually come with all the parts you need and special tools to get the job done.
1. Remove the small-cap covering the hex screw with a small flathead screwdriver.
2. Loosen the screw and pull the handle off.
3. Remove the cap and collar. Wrap a cloth around the housing to protect the finish, and use a wrench to loosen the collar.
4. Next, take out the cam, packing, and ball valve. Take a picture, or remember the exact position it was in for reassembly. Loosen the faucet and pull cam, cam washer, and ball all at once.
5. Remove and replace the seats and springs. There are two of each. Use a hex wrench to lift the rubber seat out.
6. Use all the replacement parts to reassemble the faucet and turn the water on.
1. Use an Allen wrench to loosen the screw on the handle. Pull the handle off.
2. Unscrew the decorative piece over the cartridge with your hand.
3. Use channel locks to loosen the brass piece that holds in the cartridge. Remove it.
4. Pull out the cartridge. Replace it.
5. Next, remove the O-ring with a screwdriver. Apply plumber’s grease to the new O-ring and install it.
6. Reassemble the faucet and turn the water supply on.
If the sink continues to leak after you have followed the steps below, it may mean that the water valve seat needs to be repaired or replaced.
 English
  Pусский